

Blog
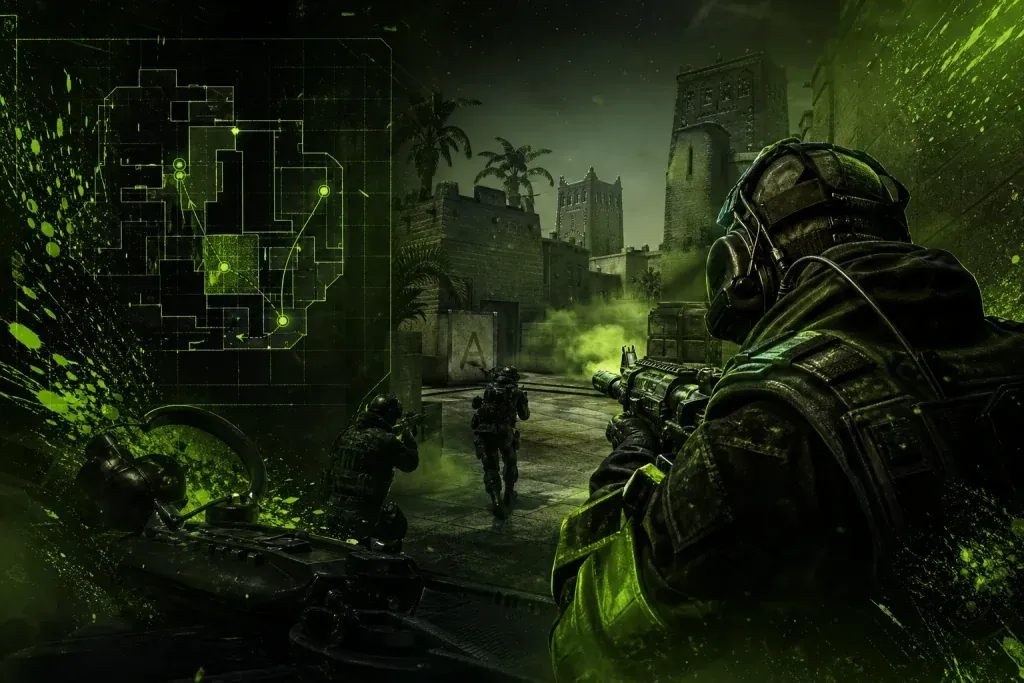
The 5 Utility Tricks That Make B Site Takes on Anubis Smoother

Anyone who’s actually played Anubis knows the feeling: your team has the site open, the CTs are scrambled, and then the round still somehow stalls because nobody used utility in the right order. That’s the whole map in a nutshell. B site isn’t hard because the geometry is wild — it’s hard because one bad smoke or one lazy flash turns a clean take into a 20-second coin flip, and in CS2 that’s basically a death sentence once the clock drops under 35.
The good news? B site on Anubis gets a lot smoother when you stop throwing nades like it’s Faceit level 5 and start using a few repeatable tricks. Nothing flashy. Nothing copied from a random clip with 300 likes. Just the stuff that actually makes execs feel organized, especially in Premier where one bad round can swing 200+ CS Rating points if the match gets tight.
Why B site on Anubis feels so annoying
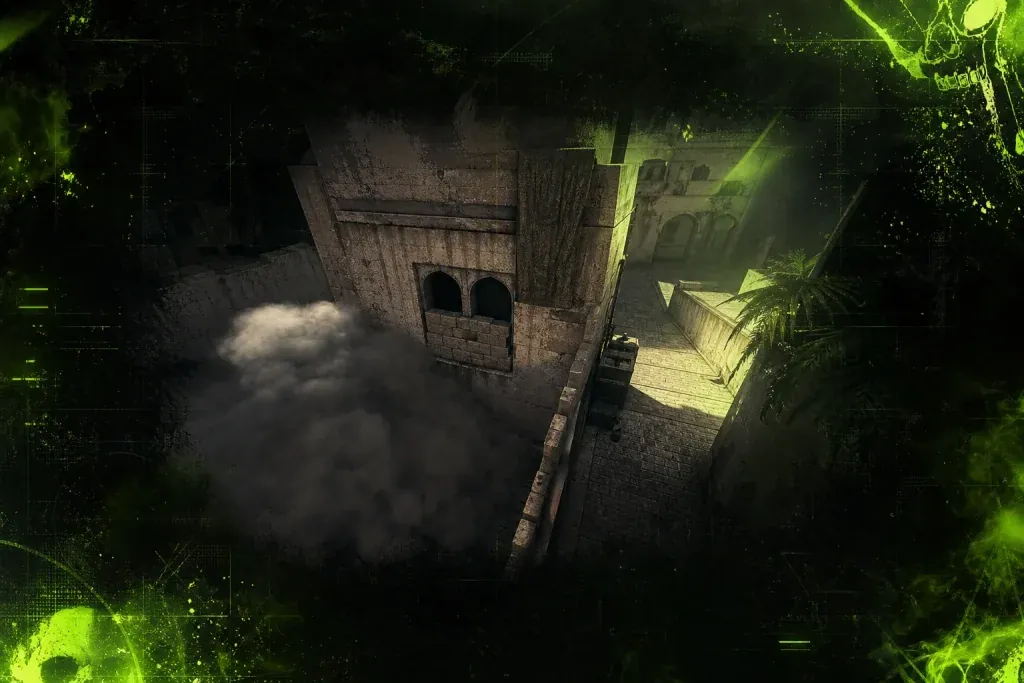
Anubis B is one of those sites that punishes lazy spacing. You’ve got tight choke points, awkward post-plant angles, and CTs can swing from bridges, water, or the back site boxes faster than people expect. Under Source 2 and subtick, people like to pretend utility timing got magically easier. It didn’t. If anything, the margin for sloppy pops is just a little less forgiving because everyone’s peeking on confidence now.
The site itself is all about vision denial. If CTs can see connector-to-B, water-to-site, or the close lane near the entrance, your entry pack gets sliced up before the bomb even gets planted. So the real goal isn’t “smoke B.” It’s to isolate the fight. Take away one angle, then another, then force the retake through a choke you’ve already made miserable.
1. Smoke the connector sightline first, not last
This is the biggest thing most teams mess up. They dump mollies and flashes into site, then leave connector open for some guy on CT to farm two players crossing. Bad order. Really bad order.
If you’re taking B through the main lane, your first smoke should usually be the connector vision line that lets CTs peek into the take or support from deeper map control. On Anubis, that sightline is way more annoying than people give it credit for because it lets defenders time rotations and help without fully committing. Cut that off early, and the whole take feels calmer.
Think of it like this: if you’re entering with rifles and a smoke costs $300, you’d better get way more than a one-for-one trade out of it. You want the smoke to buy space, not just decorate the floor.
Make the smoke land where it matters
Throwing it a little too deep is usually fine. Throwing it short is grief. A short connector smoke leaves a stupid little gap for a shoulder peek or a scoped AWP shot, and that’s exactly the kind of round that makes ZywOo look like he’s playing on a different server.
- Lead with connector.
- Don’t float it.
- Follow immediately.
2. Use a pop flash over “contact and pray”
If your team just creeps up B on Anubis hoping nobody’s holding, you’re basically asking the CTs to win the duel lottery. Contact plays have their place, sure, but on B site they’re usually weaker than people think because the defenders can fall back, wait for the sound cue, and swing off each other.
A good pop flash over the entrance changes the entire fight. The key isn’t just throwing it. It’s timing it so the entry sees white right as they clear the most dangerous angle. On 64-tick subtick servers, people still talk like flash timing doesn’t matter. It does. If the flash pops even a beat late, the first man gets tagged, the second man hesitates, and the round goes to hell.
What you want is a flash that forces the first CT crosshair off the entry line and makes the close site player turn. That’s enough. You don’t need a 10-second light show — just a clean 0.5-second window where your rifler can take space without eating a bullet to the face.
3. Mollies win the fight before the fight starts
Anubis B is full of little ratty spots where a CT can sit, do nothing, and still ruin your round. That’s why molotovs matter more here than on a lot of maps. Not because they get kills every time, but because they force movement. And movement is free info.
On B site, your best molly often goes to the back corner or the close tucked spot where defenders love to hide and wait for the trade. If you’ve ever watched donk take over a round, you know he doesn’t just dry clear everything and hope. He clears with intent. A molly says, “You can’t stay here,” and now the defender has to choose between burning, swinging, or giving up ground.
The nice part is you don’t need a full nuke of utility. One molly on the nasty corner, one flash over, and one smoke to block the worst retake line can be enough. That’s a cheap setup for a site hit that should be happening in around 10-15 seconds, not 30.
4. Don’t dump all five grenades in the first three seconds
This is the classic pug mistake. Somebody sees a smoke lineup on TikTok, throws all their nades at once, and then the team gets stuck post-plant with nothing left but a Deagle and vibes. That’s not a plan. That’s a donation.
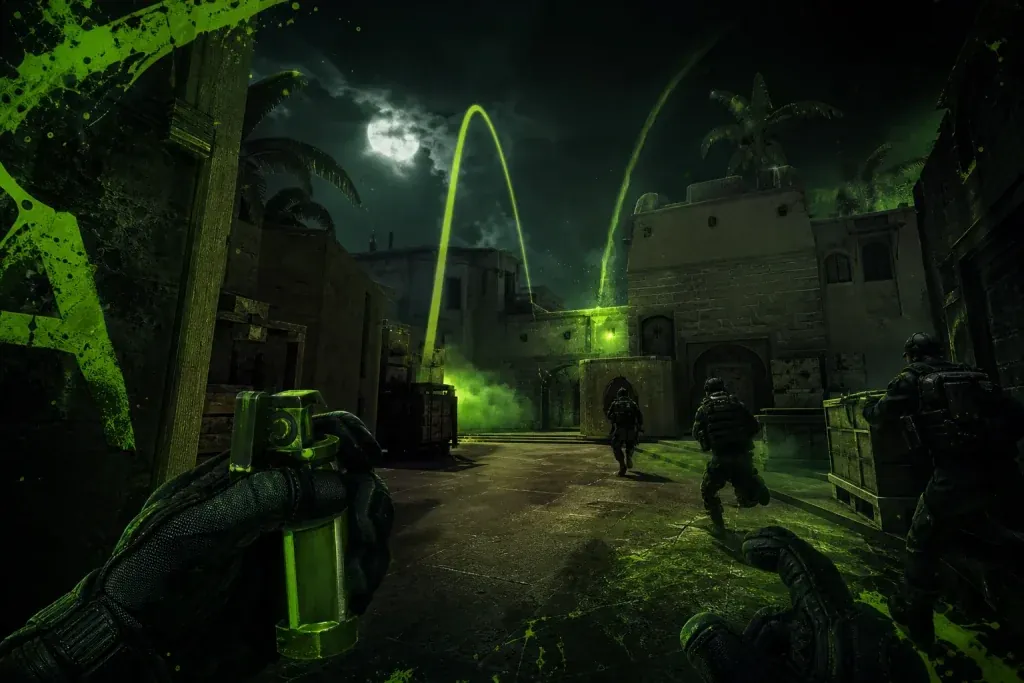
Utility on B should be staggered. Open with the vision cut, then flash the first contact, then hold a molly for the retake path or plant denial. If you throw everything at the entrance, the CTs get to retake through the same angles anyway. If you keep one piece back, you can still punish the first defuse tap or force a late swing.
A decent buy round gives you enough room to do this right. Two players with $300 smokes, one with a $400 molly, and a couple flashes at $200 each means you’re spending roughly the cost of a single AK. That’s nothing if it saves the round, and on Anubis B it usually does.
The best order usually looks like this
- Smoke the first sightline.
- Flash the entry swing.
- Molotov the annoying anchor spot.
- Save one piece for post-plant or the retake.
5. Post-plant utility is what actually closes the round
Half the reason B takes feel messy is that teams plant and then turn into statues. If you’re already in the site, the hardest work is done. Don’t throw it away by dry-holding every angle like you’re guarding a prime nuke site in 2018.
Post-plant on Anubis B should be nasty and simple. Smoke the most direct retake path if you still have it. Molotov the defuse spot if the bomb position allows it. Throw a flash off the site geometry so the first CT gets blinded while trying to clear close. That’s the whole trick: make the retake look slower than it is.
You see this kind of discipline in pro matches all the time. Teams at the Major don’t win rounds just because they had cleaner aim than everyone else. They win because the bombsite gets boxed in one layer at a time, and suddenly even elite retakers look awkward. m0NESY can save a round with absurd mechanics, sure, but even he looks mortal when the plant is protected by good utility and crossfires.
If you’re playing with randoms, call the post-plant clearly:
- one on lane
- one on cross
- one holding push
- don’t overpeek
That last part matters. People love throwing a perfect take and then losing it because they want one more kill. Just sit there and let the clock do its job.
The ugly truth: clean utility beats “better aim” a lot of the time
Here’s the part nobody wants to hear when they’re grinding Premier at 11 p.m. after a bad loss: your Anubis B takes probably aren’t failing because your team can’t aim. They’re failing because your utility order is scrambled, your flashes are late, and you’re burning all your grenades before anyone actually enters.
Fix the sequence and the site gets easier fast. Smoke first. Flash with purpose. Molly the hidey-hole. Hold something back for the retake. That’s it. Not glamorous, not clip-worthy, but it wins rounds — and if you’ve ever watched s1mple or ZywOo in a tight playoff match, you know the best players make the boring stuff look automatic.
So the real question is: next time your team calls B on Anubis, are you actually taking the site, or just throwing expensive fireworks at it?