

Blog
How to Stop Losing Banana Control on Inferno After Round 4

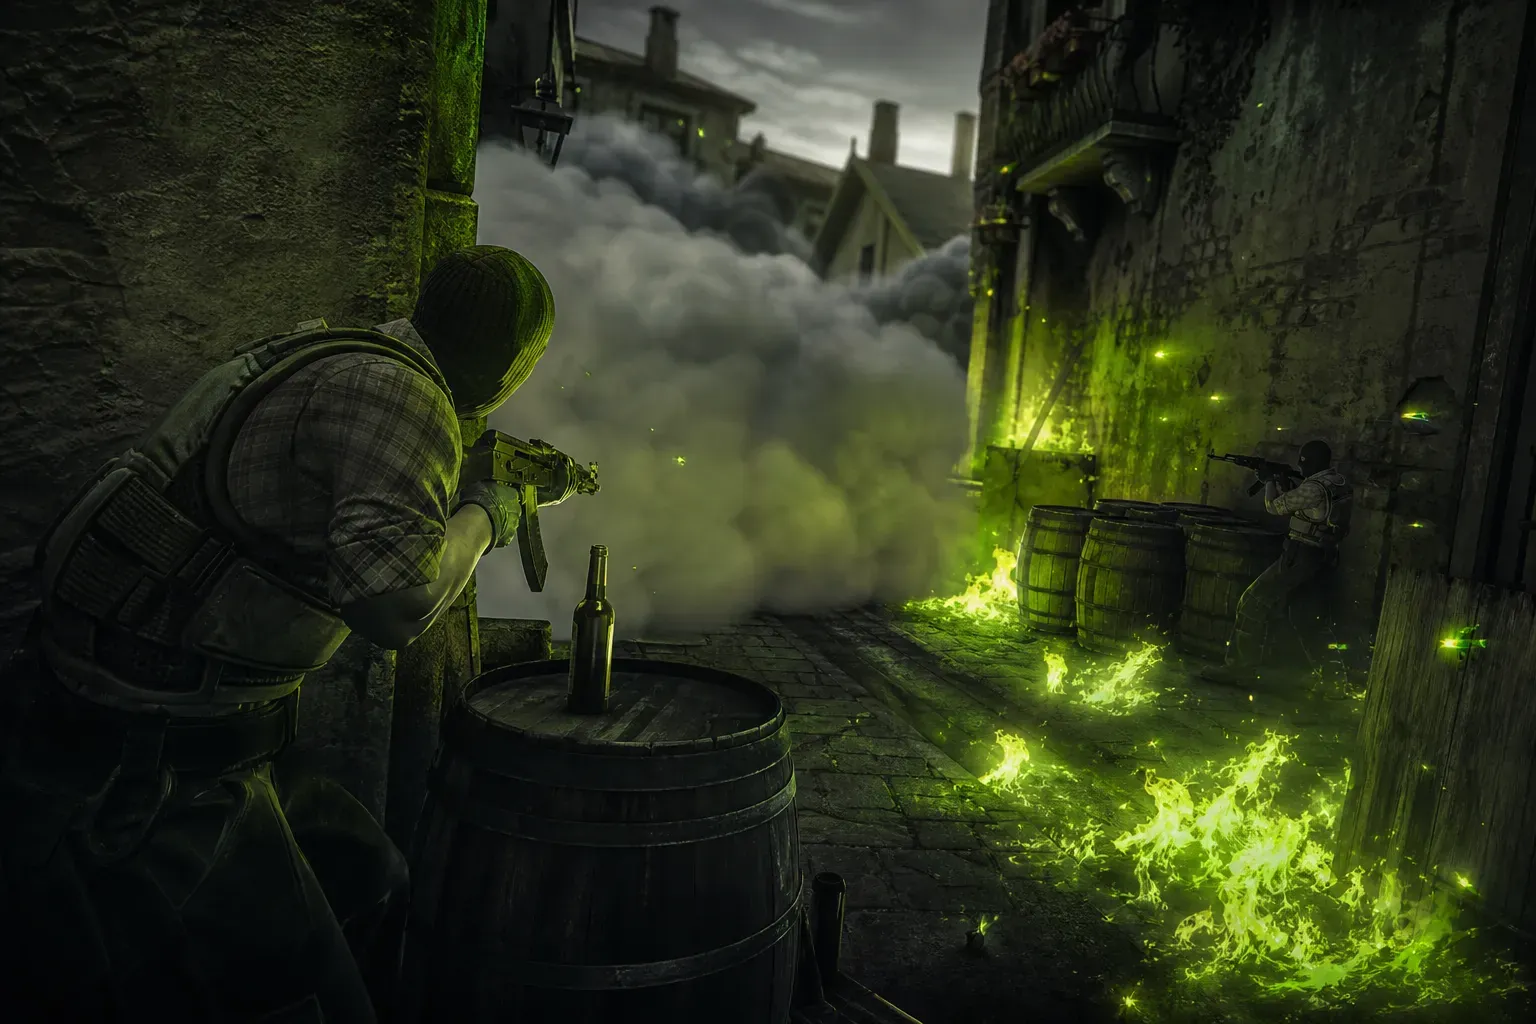
Round 5 on Inferno and your Banana setup already looks cooked: one smoke gone, your rifler’s swung bottom banana, and now CTs are staring at a free B split like it’s 2018 Mirage all over again. That’s the annoying part about Inferno in CS2 — if you lose Banana control after Round 4, you’re usually not losing it in one big heroic collapse. You’re losing it in tiny pieces: a late molly, a bad re-peek, a flash that pops for nobody, then suddenly you’re playing retake simulator with a 1.2-second rotate window and a sad little MP9.
And yeah, this map punishes sloppy Banana harder than most. Source 2’s subtick made some fights feel cleaner, but it didn’t magically fix bad spacing, lazy utility, or the classic pug habit of four guys dumping nades at the same corner while no one watches logs. If you keep bleeding Banana after Round 4, it usually means your team has stopped treating it like territory and started treating it like a coin flip.
Why Round 4 is where Banana starts slipping
Rounds 1 to 4 are still the real estate war. Both sides have money, both sides have nades, and CTs can afford to throw away a couple of pieces just to see what T side is doing. After that, the economy starts getting weird. A CT side on $4,800 might have a full kit, but one bad half-buy round and now the smoke lineup plan falls apart. A T side with $5,500 can keep re-bruising Banana with double mollies, pop flashes, and a second pair of boots ready to punish every jiggle peek.
The mistake most teams make is thinking Banana control is “won” when they’ve gotten CTs off the wall for one round. Nope. On Inferno, control is maintained by forcing repeat respect. If you don’t keep paying the tax, CTs walk right back in. They’ll boost logs, peek top with a flash from car, or just throw a deep molly from coffins and suddenly your banana lurker is on fire and screaming for help.
The bad habit: saving utility for a later round that never matters
This one gets people killed constantly. A rifler holds onto a smoke because they want to “have something for execute,” then gets slammed at half wall by a flash + swing from CT. Congrats, now you have no execute utility and no map control. Great trade.
Inferno is brutal because Banana utility isn’t luxury stuff. It’s the round. If you’re T side and you want any clean B hit later, spending a molly and a flash at round start is usually better than hoarding three nades like you’re saving for overtime.
How to actually hold Banana after you’ve taken it
If your team takes Banana, stop thinking like it’s a highlight clip and start thinking like a boring CT anchor. You don’t need to re-peek every sound cue. You need layers. One player at sandbags or bottom banana, one guy ready to punish a push with a flash, and at least one piece of utility left for the mid-round contact play.
- Use a deep molly early, then a second one later. Not both at once.
- Keep one player tucked for information. Don’t donate him at logs for free.
- Have a flash ready for a CT re-clear, especially after the 1:35 mark.
- If you lose a body, don’t instantly sprint in solo. That’s how Banana becomes CT territory again.
The timing matters. On Inferno, the first real contact often happens before the round has even settled, but the second wave — the one that actually decides the lane — comes around 1:40 to 1:10. That’s when CTs start pushing for space because they know T side hates spending another smoke just to regain what they already had.
And please, don’t play Banana like a deathmatch corridor. If your guy gets first contact at half wall, the correct response isn’t “everyone swing now.” Sometimes the right answer is to freeze, hear the utility, and let the CT side burn resources trying to reclaim it. That’s how you make Inferno miserable for them.
The utility pattern that stops the rot
There’s no magic lineup that fixes everything, but there is a structure that works way too often for people to still ignore it. Use a clean opening molly, follow with a flash to force CTs off the first angle, and then keep one extra piece in reserve for the re-clear. That last nade is the difference between holding Banana and getting farmed by a 2-man retake squad from CT spawn and coffins.
Here’s the simple version:
- Open with a molly on top banana or logs.
- Pop flash over the roof so your entry isn’t blind peeking a smoke cloud.
- Smoke the re-aggression point, not just the first contact spot.
- Don’t waste HE damage on empty space. If they’re already gone, hold the nade.
Also, start respecting the economy. If the CTs are on an ugly force — say two FAMASes, a MP9, and one guy with a smoke and no helmet — they’re not trying to outgun you. They’re trying to make you panic. That’s when the cheap plays work: a fast re-smoke, a quiet walk-up, or even just holding for the overpeek. At $2,050 for a FAMAS and $1,250 for an MP9, these buys are all about baiting mistakes, not winning fair duels.
Stop giving away Banana with ego peeks
This is the part that hurts because it’s so simple. Most Banana losses after Round 4 come from somebody thinking they can “take it back” alone. You can’t. Not if the other side still has flashes, not if they’ve got a smoke for CT, not if you’re the only rifler alive and you’re wide-swinging through a molly like it’s Faceit Level 5.
CS2’s subtick makes counter-strafing feel crisp when you’re sharp, but it doesn’t save bad decisions. If you’re dry peeking Banana against a prepared CT on Inferno, you’re just feeding them free information. ZywOo doesn’t win Banana by hoping the other guy misses. donk doesn’t take map control by swinging first because he’s bored. They take it by making the defenders uncomfortable, then immediately punishing the re-peek.
That’s the difference between control and contact. Control means the CT side is nervous to fight you. Contact means someone saw something and died for it.
Mid-round Banana is a team problem, not a lane problem
Once Banana is lost, people love blaming the Banana player. Lazy. If mid isn’t being watched, CTs can shift pressure with almost no punishment. If apps is dead quiet, they’ll feel safe burning more utility B-side. If your lurk is doing nothing, CTs can stack Banana with a second body and still keep mid covered.
This is why the best Inferno teams make Banana feel like part of a bigger map squeeze, not a tiny brawl at the bottom of a lane. Watch any serious Major run and you’ll see it: the Banana fight only matters because it affects the A rotation, the CT economy, and the timing for late-round splits. When G2, Vitality, or FaZe get control, it’s never just “we own Banana.” It’s “now CTs have to guess where the second hit is.”
If your team keeps throwing all five players into Banana recovery, you’ve already lost the macro. Get one guy to anchor mid info, one to keep pressure short or apps, and let the Banana player work with real support. Otherwise you’re just asking for a 2v5 retake on a site with coffins, moto, new box, and every angle on the planet.
The fix is boring, which is why most teams skip it
Most of the time, stopping Banana losses after Round 4 comes down to discipline that nobody wants to practice. Keep one extra flash. Don’t peek the same angle twice. Don’t spend all your molly money at 1:50 and then stand there helpless when CTs regroup. If you’ve taken Banana, force the CT side to spend again before they get comfortable. If you’ve lost it, stop pretending a solo hero play is going to recover the round.
Inferno rewards the team that stays annoying. Not flashy. Not heroic. Annoying. The side that makes the other team burn a smoke, re-buy a kit, and hesitate for two full seconds is the side that wins Banana — and then wins the round after it.
So next time you’re on Inferno and Round 5 starts slipping away, ask the real question: are you actually losing Banana, or are you just handing it over because nobody wanted to spend the extra flash?